
Painting a room might seem easy, but simple mistakes can lead to uneven coverage, peeling paint, and a less-than-perfect finish. The good news? Avoiding these common pitfalls ensures a smooth, professional-looking result that lasts. Whether you’re a beginner or a seasoned DIYer, knowing what not to do is just as important as learning the right techniques. Here are 12 mistakes to avoid, to achieve a flawless paint job every time.
1. Skipping the Prep Work

Rushing into painting without proper preparation leads to a messy, unprofessional finish. Skipping steps like cleaning walls, patching holes, results in peeling, uneven coats, and visible imperfections. Dust, grease, and moisture can prevent paint from adhering properly, causing long-term issues. Always start by washing walls, sanding rough spots, and applying primer when needed. Taking the time to prep ensures smooth application, better durability, and a flawless final look. Proper prep may take extra time, but it prevents costly mistakes and ensures a polished result.
2. Choosing the Wrong Paint Finish
Not all paints are created equal, and selecting the wrong finish can affect both the look and longevity of your walls. High-gloss finishes highlight imperfections, while matte finishes can be hard to clean in high-traffic areas. For living rooms, eggshell or satin offers a balance of durability and softness. Kitchens and bathrooms require moisture-resistant finishes like semi-gloss. Before buying, consider the room’s function, lighting, and surface texture. Testing a small patch can prevent regrets, ensuring you choose a finish that enhances both aesthetics and practicality.
3. Ignoring Primer When It’s Needed
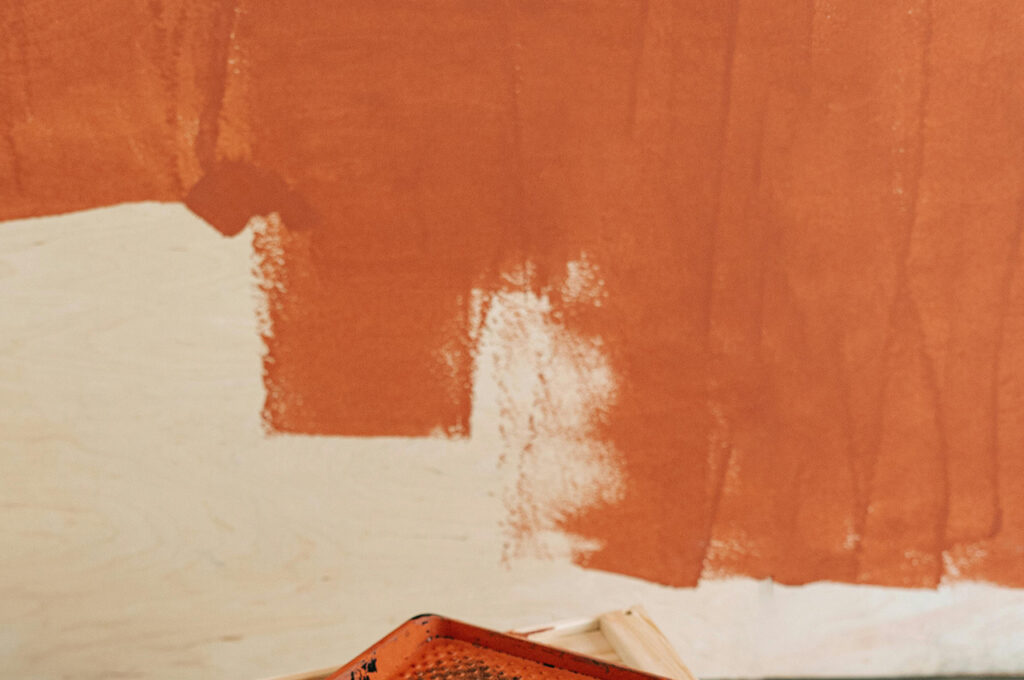
Skipping primer can lead to uneven coverage, poor adhesion, and premature peeling, especially when painting over dark or glossy surfaces. Primer helps seal porous materials, covers stains, and provides a uniform base for color application. Without it, you may need multiple coats to achieve the right shade, wasting time and paint. For drastic color changes or tricky surfaces like wood or drywall patches, primer is a must. Even self-priming paints work best when paired with an appropriate base coat, ensuring long-lasting and even results.
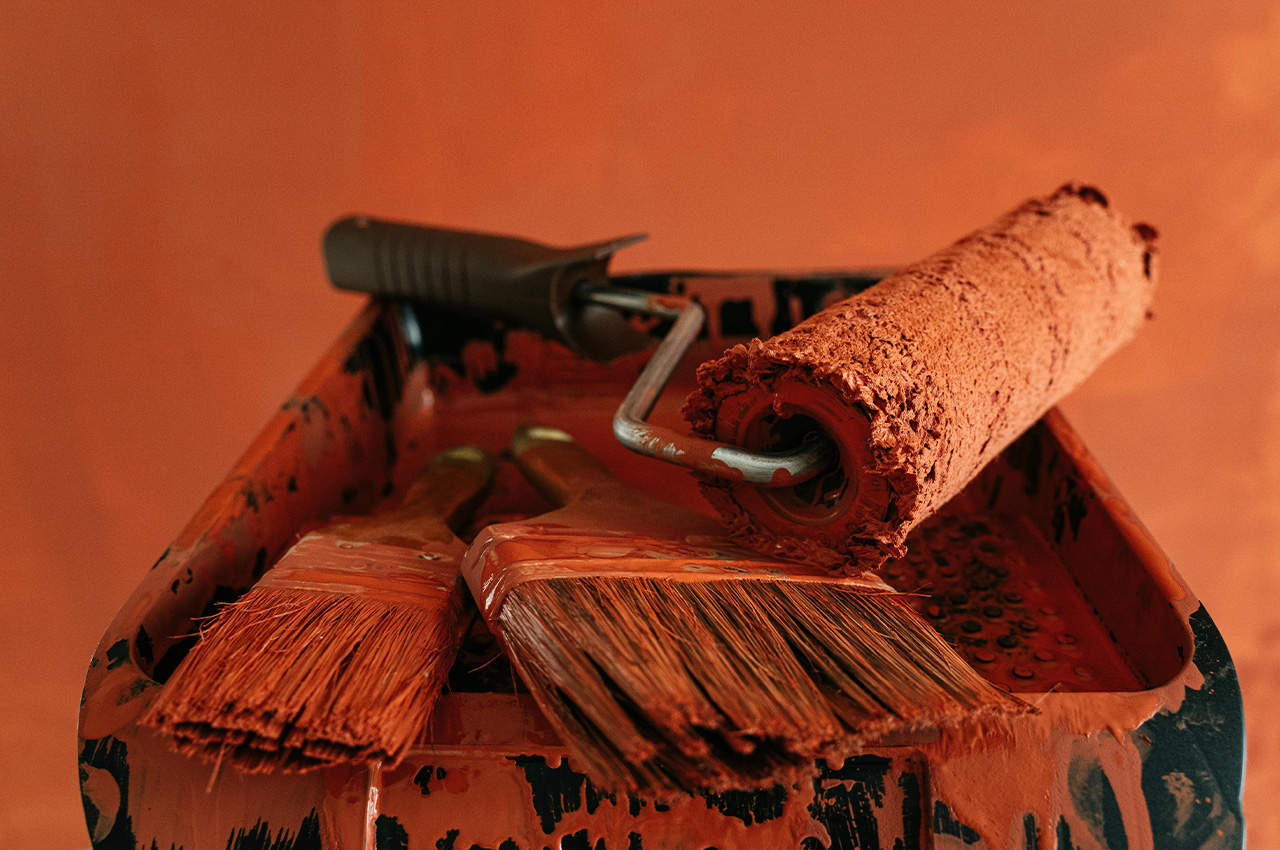
4. Using Cheap Brushes and Rollers
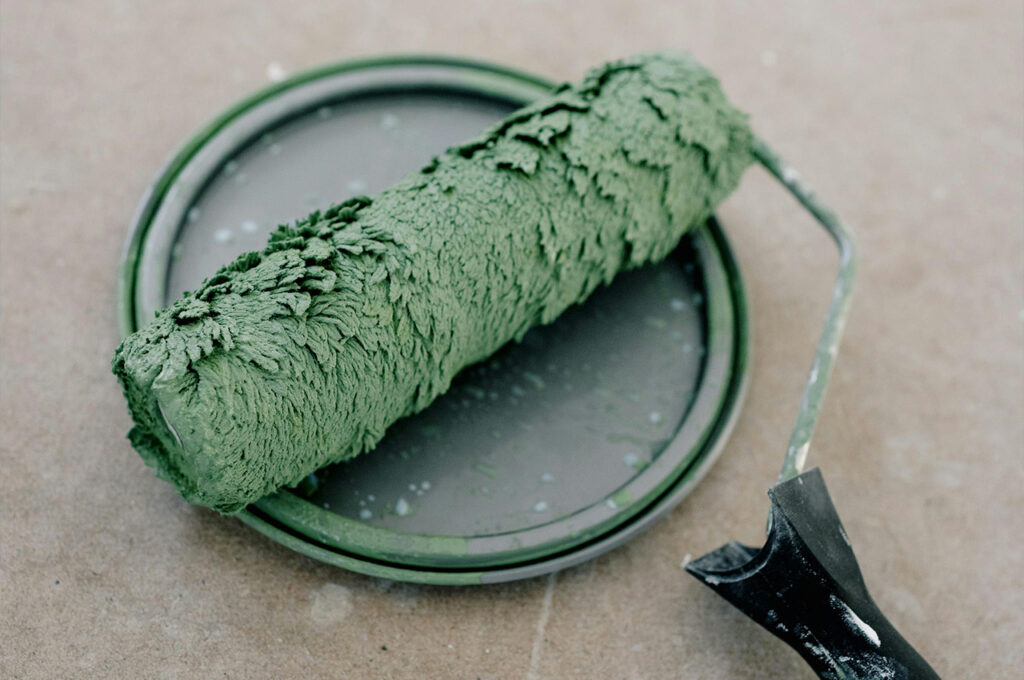
Investing in quality painting tools makes a huge difference in achieving a professional finish. Cheap brushes shed bristles, and low-quality rollers leave lint behind, creating an uneven texture. A high-quality angled brush provides smooth edges, while a well-made roller offers even coverage without excessive streaks. While expensive tools may seem unnecessary, they save time, reduce frustration, and improve the overall appearance of your walls. Cleaning and storing good brushes properly extends their lifespan, making them a worthwhile investment for future projects.
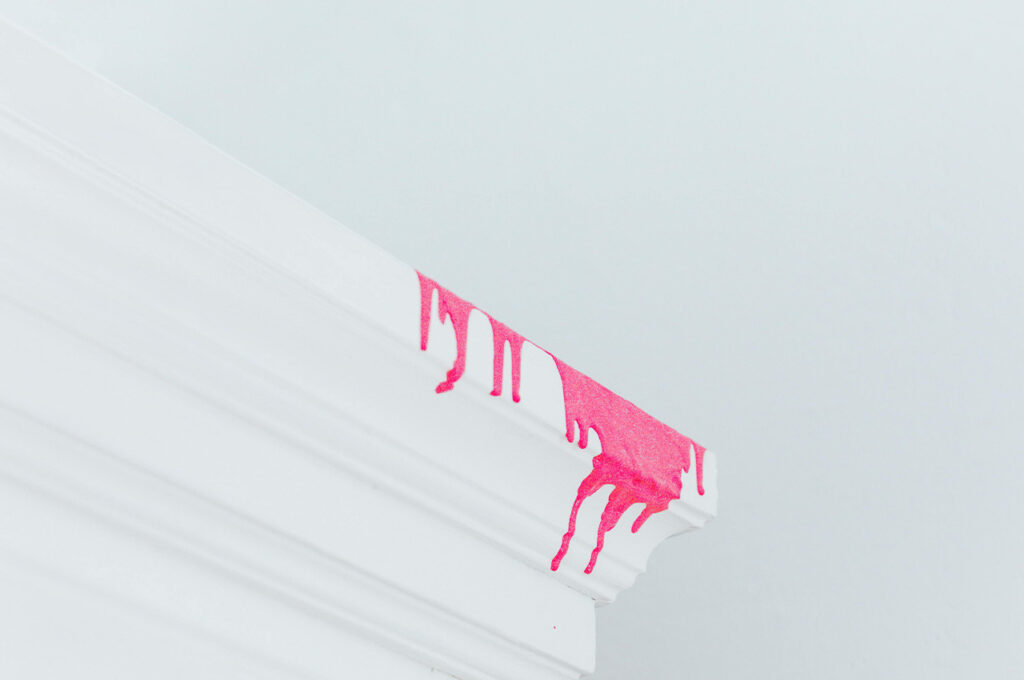
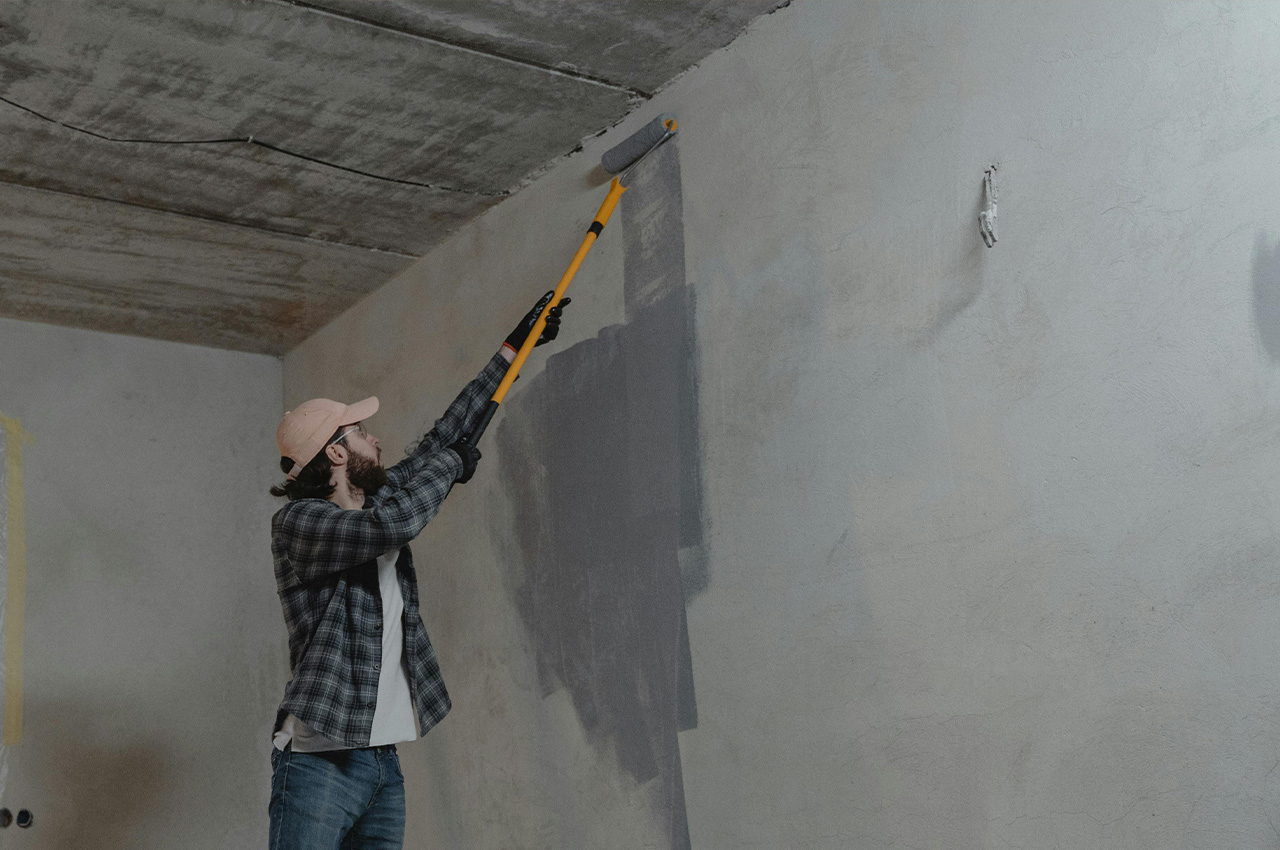
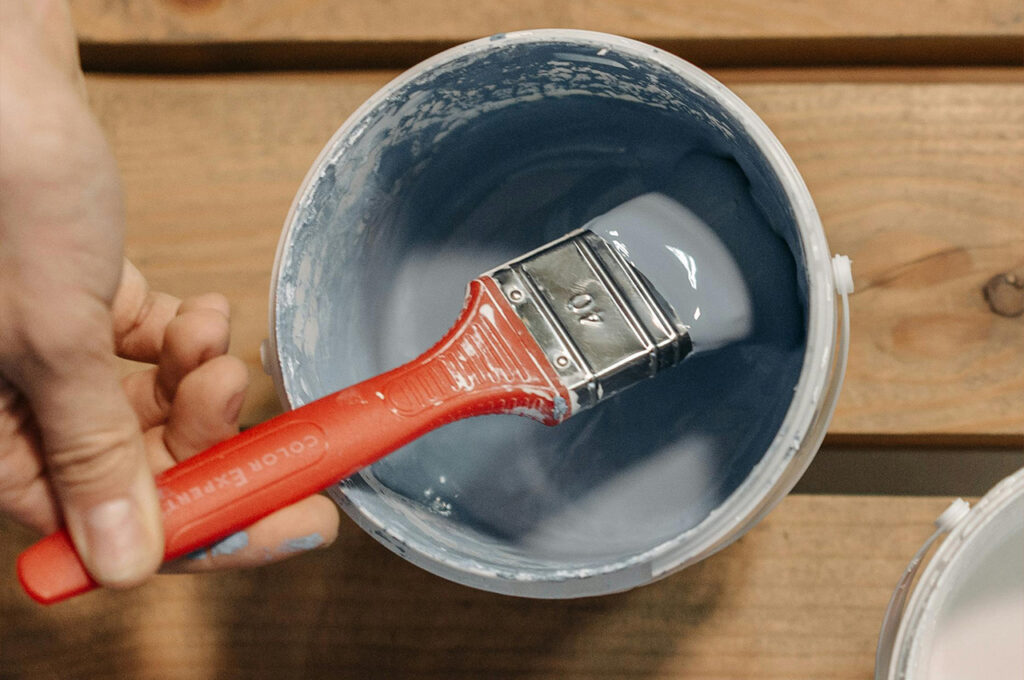
5. Overloading the Brush or Roller
Dipping your brush or roller too deeply into the paint can lead to drips, streaks, and excessive application. Overloaded brushes create thick, uneven layers that take longer to dry and are more likely to crack or peel. Instead, dip only one-third of the brush’s bristles into the paint and remove excess by tapping against the can’s edge. For rollers, use a paint tray to evenly distribute paint before applying. Thin, controlled layers build up to a smoother finish, ensuring better adhesion and a professional-looking result.
6. Painting Over Wet or Dirty Surfaces
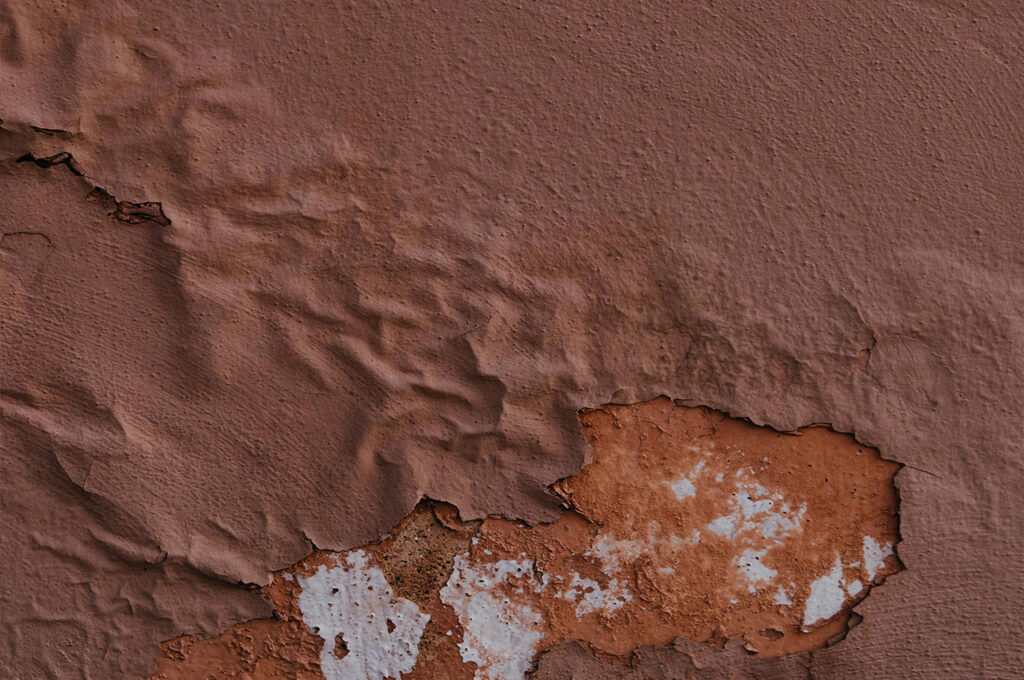
Applying paint to damp or dirty walls prevents proper adhesion and can lead to peeling, bubbling, or streaking. Moisture in walls, especially in bathrooms or basements, traps water beneath the paint, causing future damage. Similarly, dust, oil, or grease buildup interferes with even coverage. Before painting, thoroughly clean surfaces with mild soap and water, let them dry completely, and check for any hidden moisture issues. If walls feel cool or damp, use a dehumidifier or wait for better conditions. Properly prepared surfaces ensure a smooth, long-lasting finish.
7. Not Using Painter’s Tape Properly
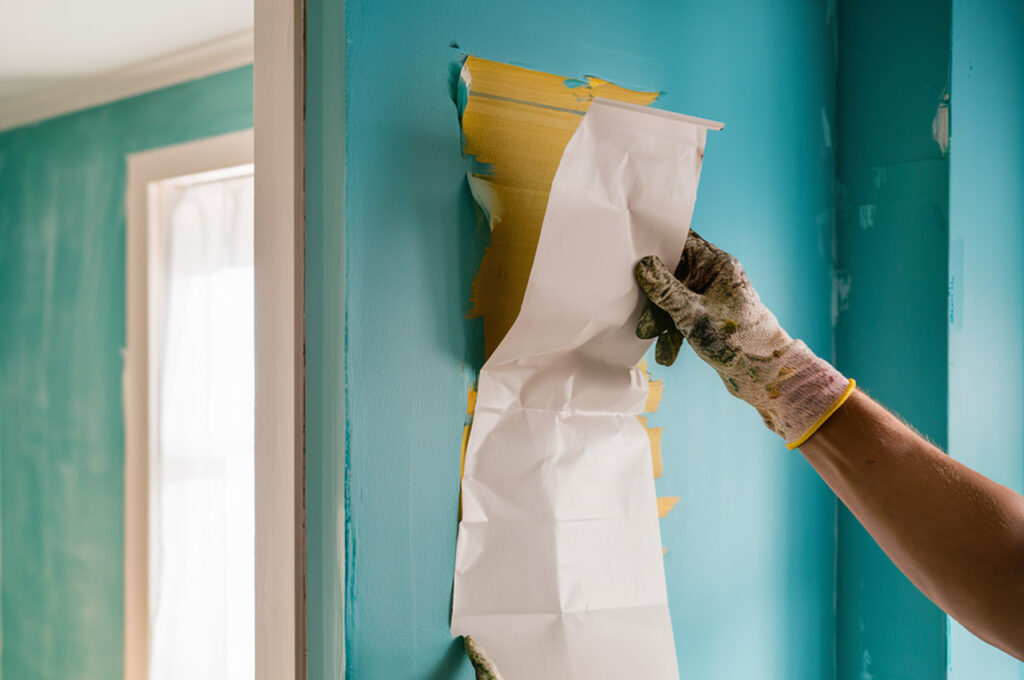
Painter’s tape is essential for achieving crisp, clean edges, but applying it incorrectly can lead to paint bleeding underneath or peeling off existing paint. To ensure a tight seal, press the tape firmly along trim, baseboards, and edges. Remove it at the right time—while the paint is still slightly tacky—to avoid pulling up dried paint. Avoid using low-quality tape, which doesn’t adhere well and may leave residue. Proper tape application saves time on touch-ups and gives your paint job a professional, polished finish.
8. Rushing Between Coats
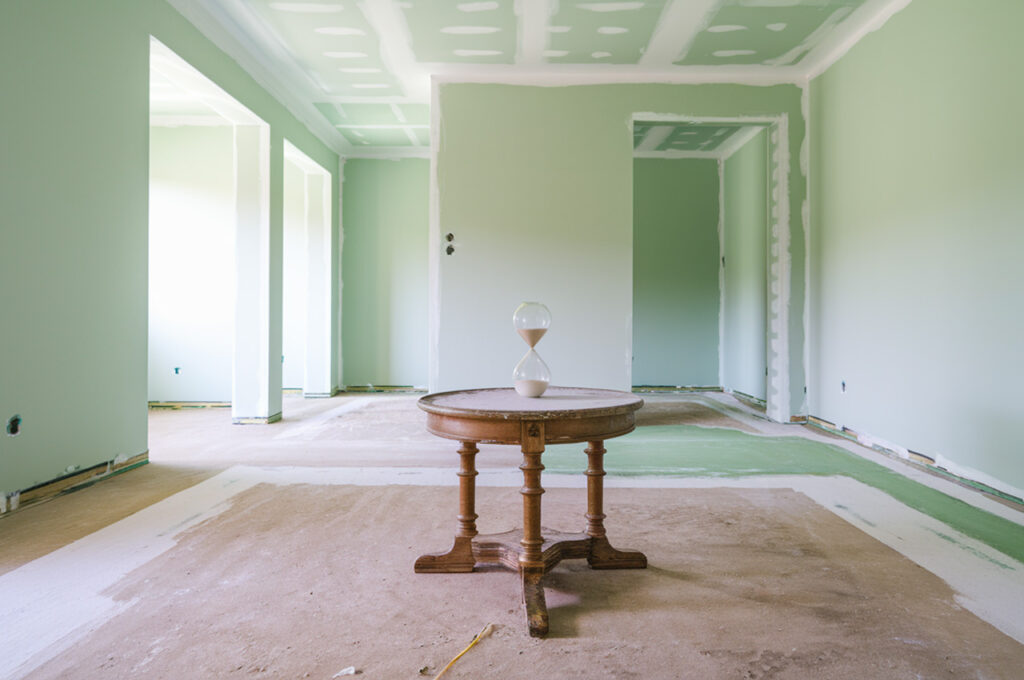
Patience is key when painting a room. Applying a second coat before the first is fully dry leads to streaks, uneven texture, and peeling. While some paints dry quickly, most require at least a few hours between coats. Check the manufacturer’s instructions and allow proper drying time, especially in humid conditions. If you rush, you risk ruining all your hard work. Taking the time to let each coat set properly ensures a smooth, even finish that lasts longer and looks better.
9. Painting in Poor Lighting

Lighting plays a crucial role in spotting imperfections, uneven coverage, and missed spots. Painting in dim or artificial light can make it hard to see streaks, drips, or inconsistent layers. Natural daylight is best for evaluating color accuracy and finish. If that’s not an option, use bright, adjustable work lights to illuminate your space properly. Checking your work under different lighting conditions helps you catch issues before the paint fully dries, ensuring a more even and professional result.
10. Neglecting Ventilation
Failing to ventilate a room while painting can lead to health risks and slow drying times. Paint fumes contain chemicals that can cause headaches, dizziness, and respiratory issues if inhaled in an enclosed space. Always open windows, use fans, and, if needed, wear a mask to ensure proper airflow. Low-VOC or zero-VOC paints reduce harmful emissions, but ventilation is still necessary. Allowing fresh air to circulate helps paint dry evenly, minimizes strong odors, and creates a safer environment for you and your home.
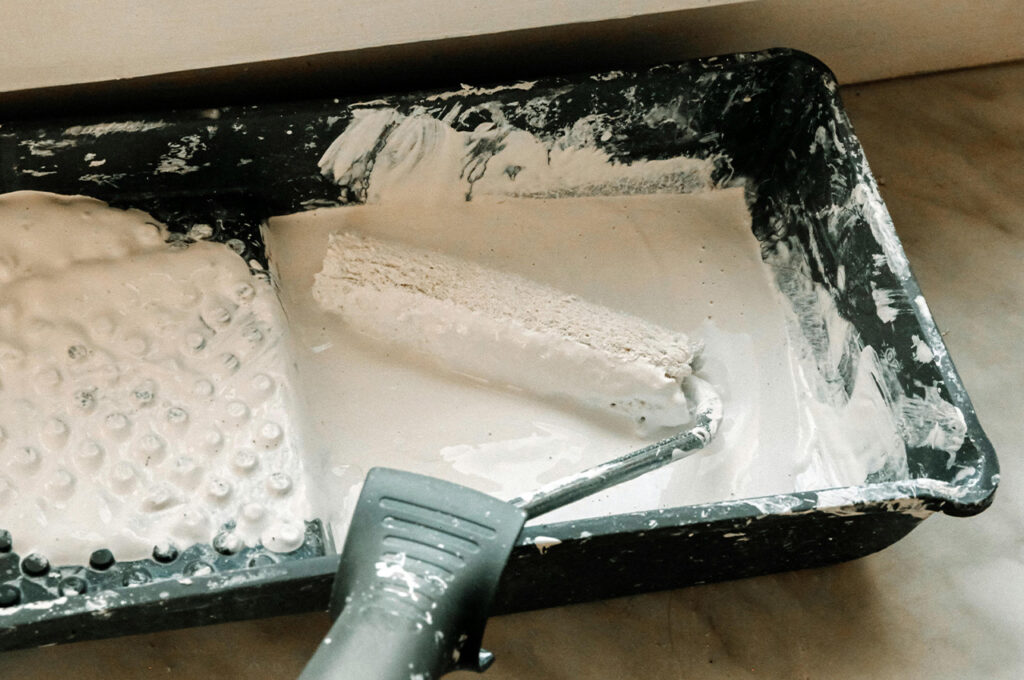
11. Dipping Directly Into the Paint Can
Dipping brushes or rollers directly into the paint can introduces dirt, dust, and dried flecks into the remaining paint, ruining its consistency. Instead, pour paint into a tray or bucket to keep it clean and manageable. Using a liner in the tray makes cleanup easier and prevents contamination. If using a large can, stir it periodically to maintain even pigment distribution. Proper handling ensures a smoother application and prevents imperfections caused by debris in the paint.
12. Forgetting to Clean Up Properly
Neglecting cleanup after painting can damage your tools and make future projects harder. Brushes and rollers should be thoroughly cleaned with soap and water for latex paints or mineral spirits for oil-based paints. Leaving brushes soaking too long can ruin their bristles. Store leftover paint properly by sealing cans tightly and labeling them for future touch-ups. Wipe up spills before they dry, and remove painter’s tape carefully. A well-maintained workspace keeps your painting tools in good shape and makes the next job easier.