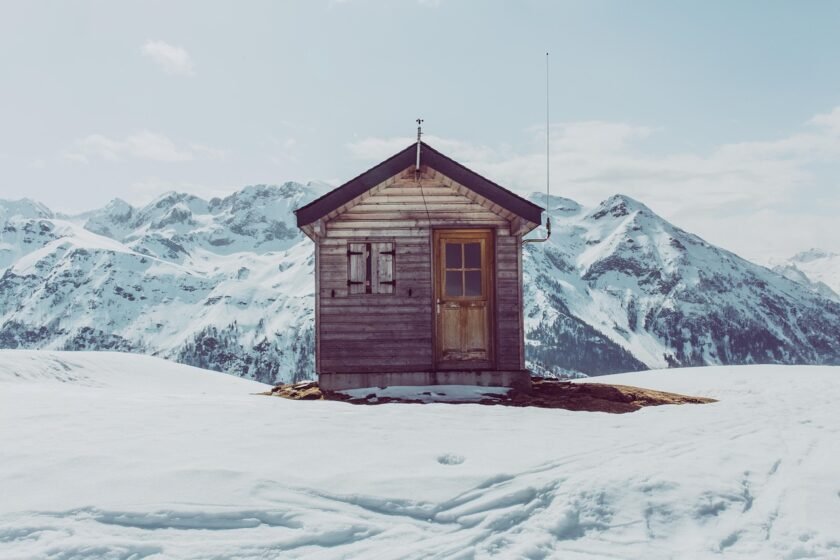
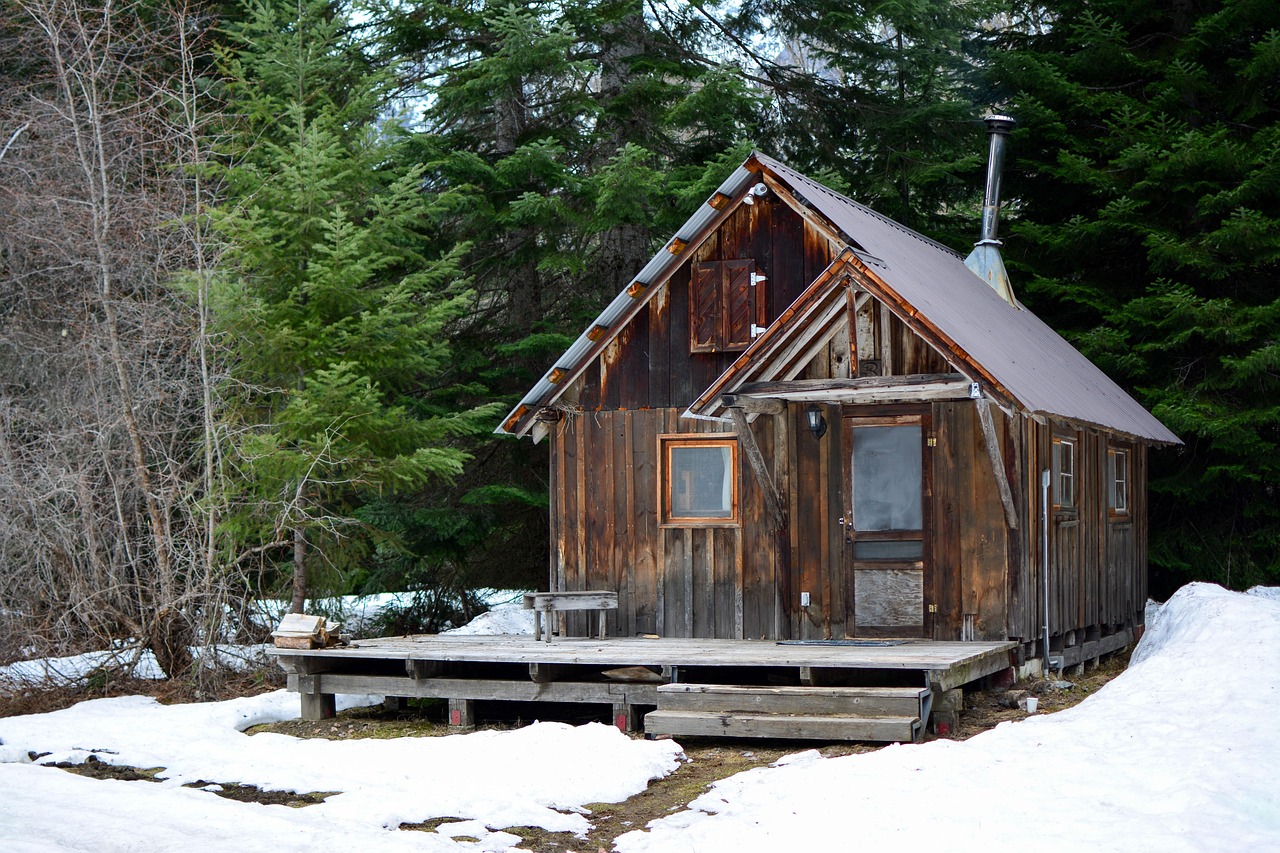
Winterizing a cabin does not require professional contractors, expensive equipment, or advanced technical skills. Most cold-weather damage happens slowly through heat loss, moisture buildup, and freezing in overlooked areas. When these problems are addressed early, they can be prevented with simple, low-cost solutions. The purpose of winterization is to protect plumbing, preserve warmth, and reduce structural stress caused by freezing temperatures. This guide focuses on practical methods that rely on observation, consistency, and everyday materials rather than expertise. Each approach is designed for homeowners working on a budget who want reliable results. With careful preparation and basic effort, a cabin can remain safe, comfortable, and durable throughout winter without professional assistance.
1. Seal Drafts Around Doors and Windows
Drafts are one of the most common sources of heat loss in cabins, especially older structures with wood frames. Cold air enters through tiny gaps around doors, window frames, and trim, forcing heaters to work harder while rooms still feel chilly. Sealing these openings is affordable and immediately effective. Weatherstripping, rope caulk, foam tape, or silicone sealant can block airflow without altering the structure. Focus on areas where light, air movement, or temperature change is noticeable. Proper sealing stabilizes indoor warmth, reduces condensation, and lowers heating costs. A clear visual shows hands pressing weatherstripping along a cabin doorframe while snow gathers outside.
2. Add Temporary Window Insulation Film
Single-pane or aging windows lose a surprising amount of heat during the winter months. Temporary window insulation film creates an extra barrier that traps warm air between the plastic layer and the glass. These kits are inexpensive, widely available, and easy to install using double-sided tape and a hair dryer. Once applied, drafts are reduced, indoor temperatures become more stable, and condensation is minimized. This solution maintains visibility and natural light while improving insulation. A picture-friendly scene shows clear plastic stretched tightly over a cabin window, frost forming outside, and warm light glowing indoors.
3. Insulate Exposed Pipes Before Freezing Starts
Frozen pipes are among the most costly winter problems a cabin owner can face, yet prevention is simple and affordable. Pipes located near exterior walls, beneath floors, or inside crawl spaces lose heat quickly when temperatures drop. Foam pipe sleeves, fiberglass wrap, or layered towels secured with tape can slow heat loss enough to prevent freezing. Pay close attention to joints, bends, and shutoff valves, which freeze first. Proper insulation protects plumbing while reducing reliance on constant heating. A picture-friendly image shows hands fitting foam insulation around exposed pipes beneath a raised cabin floor.
4. Drain and Shut Off Unused Water Lines
If parts of the cabin will not be used during winter, draining and shutting off those water lines reduces the risk dramatically. Outdoor faucets, secondary bathrooms, or laundry hookups often freeze first. Shut off the water supply, open faucets fully, and allow remaining water to drain out. This prevents pressure buildup and cracking when temperatures fall. The process costs nothing beyond time and attention but can prevent severe damage. A visual example shows a sink with open taps and a visible shutoff valve turned off, reinforcing preparation rather than emergency repair.
5. Use Heavy Curtains or Thermal Drapes
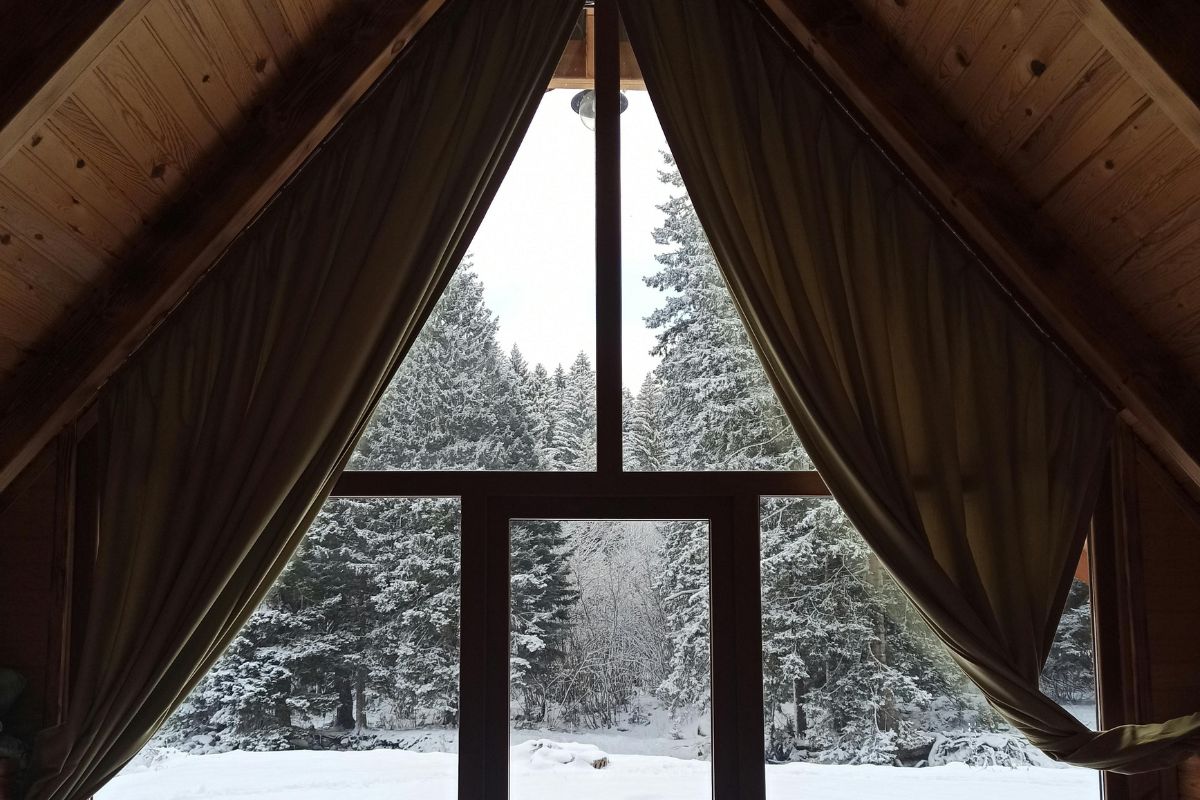
Windows continue to lose heat after dark, even when sealed properly. Heavy curtains or thermal drapes create an extra insulation layer that helps trap warm air inside. Budget options include fleece blankets, thrift-store curtains, or thermal liners clipped to existing rods. Close them in the evening and open them during daylight to capture solar warmth. This method improves comfort without permanent changes. A picture-friendly scene shows thick curtains drawn across cabin windows, with warm interior lighting contrasting against snow and darkness outside.
6. Close Off Unused Rooms
Heating unused space wastes energy and increases moisture buildup. Close doors to rooms that are rarely used and block vents to focus warmth where it is needed most. This simple adjustment improves heating efficiency and stabilizes temperatures in living areas. Concentrating heat also reduces strain on heating systems during extremely cold nights. A clear visual shows a closed cabin door with a draft blocker placed along the bottom, emphasizing intentional space management and energy control.
7. Add Door Draft Stoppers
Cold air often sneaks into cabins through the small gap beneath exterior doors. Draft stoppers offer a simple and cost-effective solution. They can be purchased inexpensively or made using rolled towels, fabric tubes, or socks filled with rice. Placed snugly against the door base, they block airflow immediately. This small addition enhances comfort and prevents heat from constantly escaping. A picture-friendly image shows a fabric draft stopper resting along the bottom of a rustic cabin door, clearly demonstrating how a simple object can reduce winter drafts.
8. Insulate Ceiling and Attic Gaps

Heat naturally rises, making ceilings and attic spaces major sources of winter heat loss. Even small gaps or thin insulation allow warmth to escape quickly, forcing heaters to run longer. Inspect ceiling seams, attic access panels, and areas where wiring or pipes pass through. Foam board, fiberglass batts, or even temporary layers like cardboard and blankets can improve insulation without professional work. Sealing these weak points helps maintain steady indoor temperatures and lowers energy use. A picture-friendly visual shows insulation material placed around an attic hatch, highlighting how simple coverage prevents warm air from escaping into cold overhead spaces.
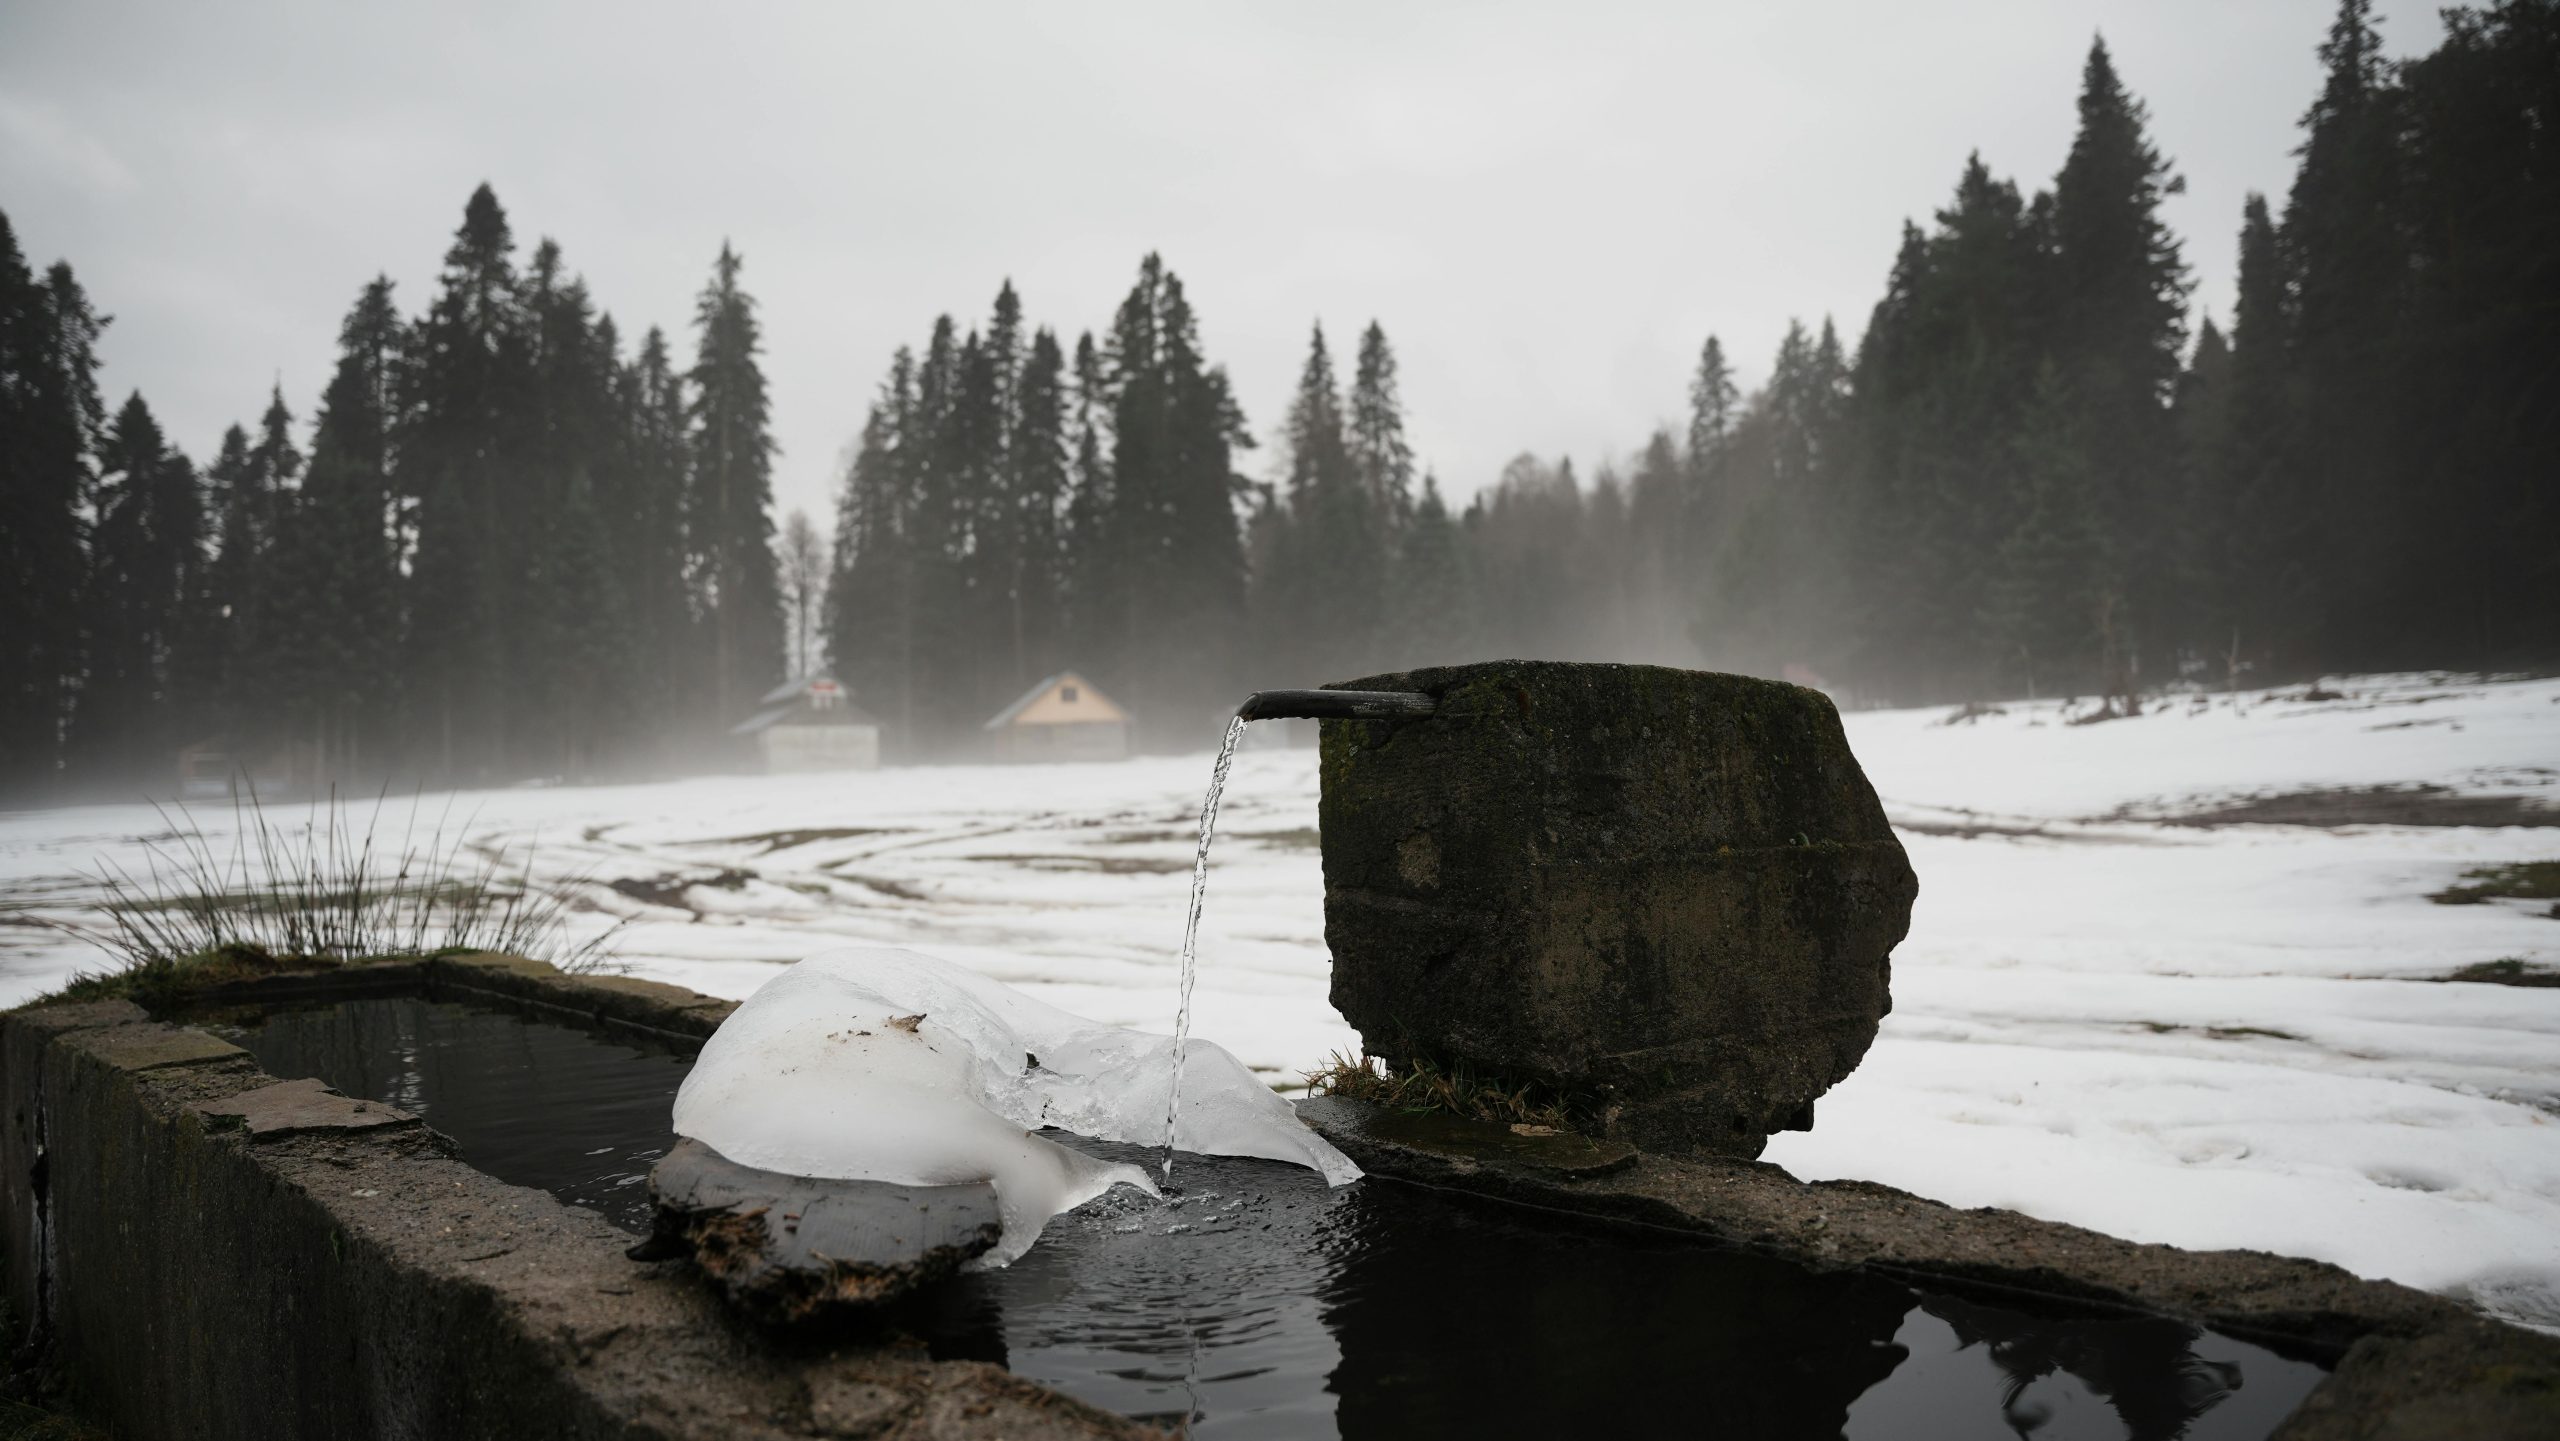
9. Protect the Crawl Space and Foundation

Cold air entering beneath a cabin affects floors, pipes, and overall comfort. Open crawl space vents and bare ground allow freezing temperatures to circulate freely. Blocking vents with foam board and covering exposed ground with plastic sheeting reduces heat loss and moisture buildup. This inexpensive step helps stabilize indoor temperatures and protects plumbing below. It also limits condensation that can lead to rot. A strong visual shows foam panels fitted over crawl space vents beneath a cabin, reinforcing how blocking airflow at ground level improves winter performance without specialized tools.
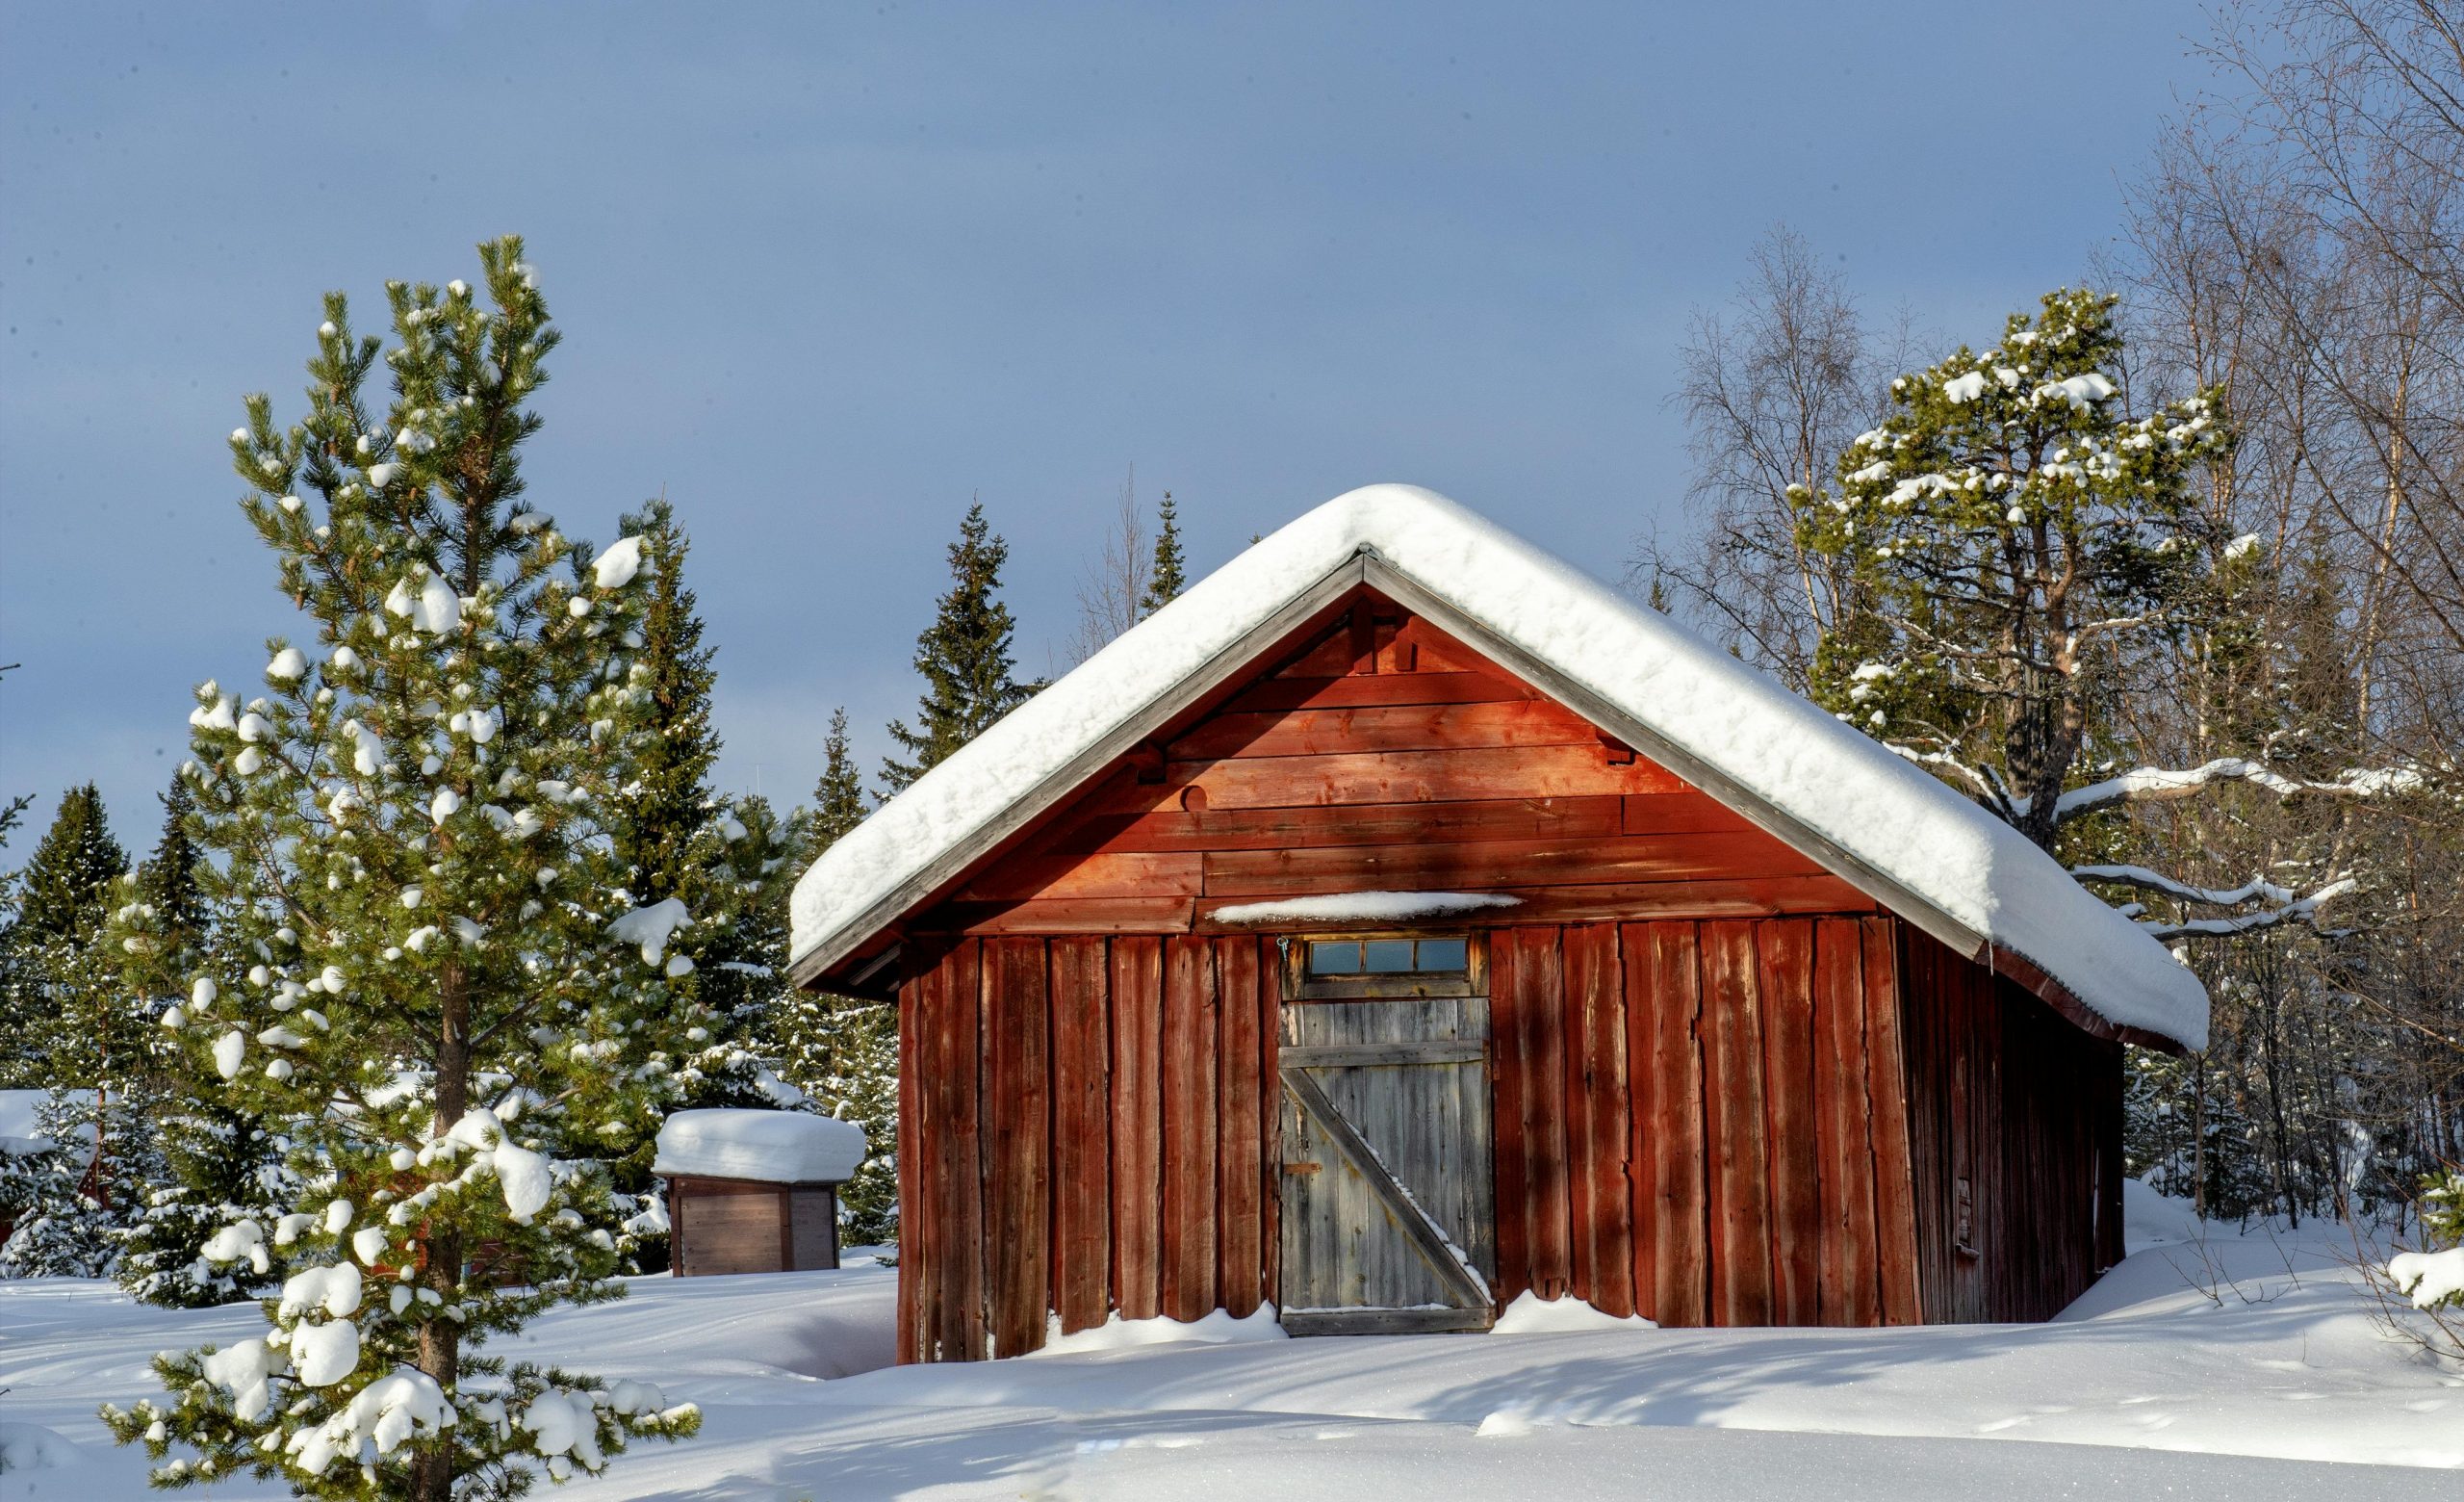
10. Store Firewood Properly for Efficient Heating

Firewood quality directly affects heating efficiency. Wet or frozen wood burns poorly and produces less heat while creating excess smoke. Stack firewood off the ground, cover the top to protect it from snow, and leave the sides open for airflow. Keep a small supply close to the cabin for easy access during storms. Proper storage ensures cleaner burns and better heat output. A picture-friendly scene shows neatly stacked firewood beside a cabin, covered on top with snow around it, emphasizing preparation and accessibility.
11. Clean and Prepare Heating Equipment
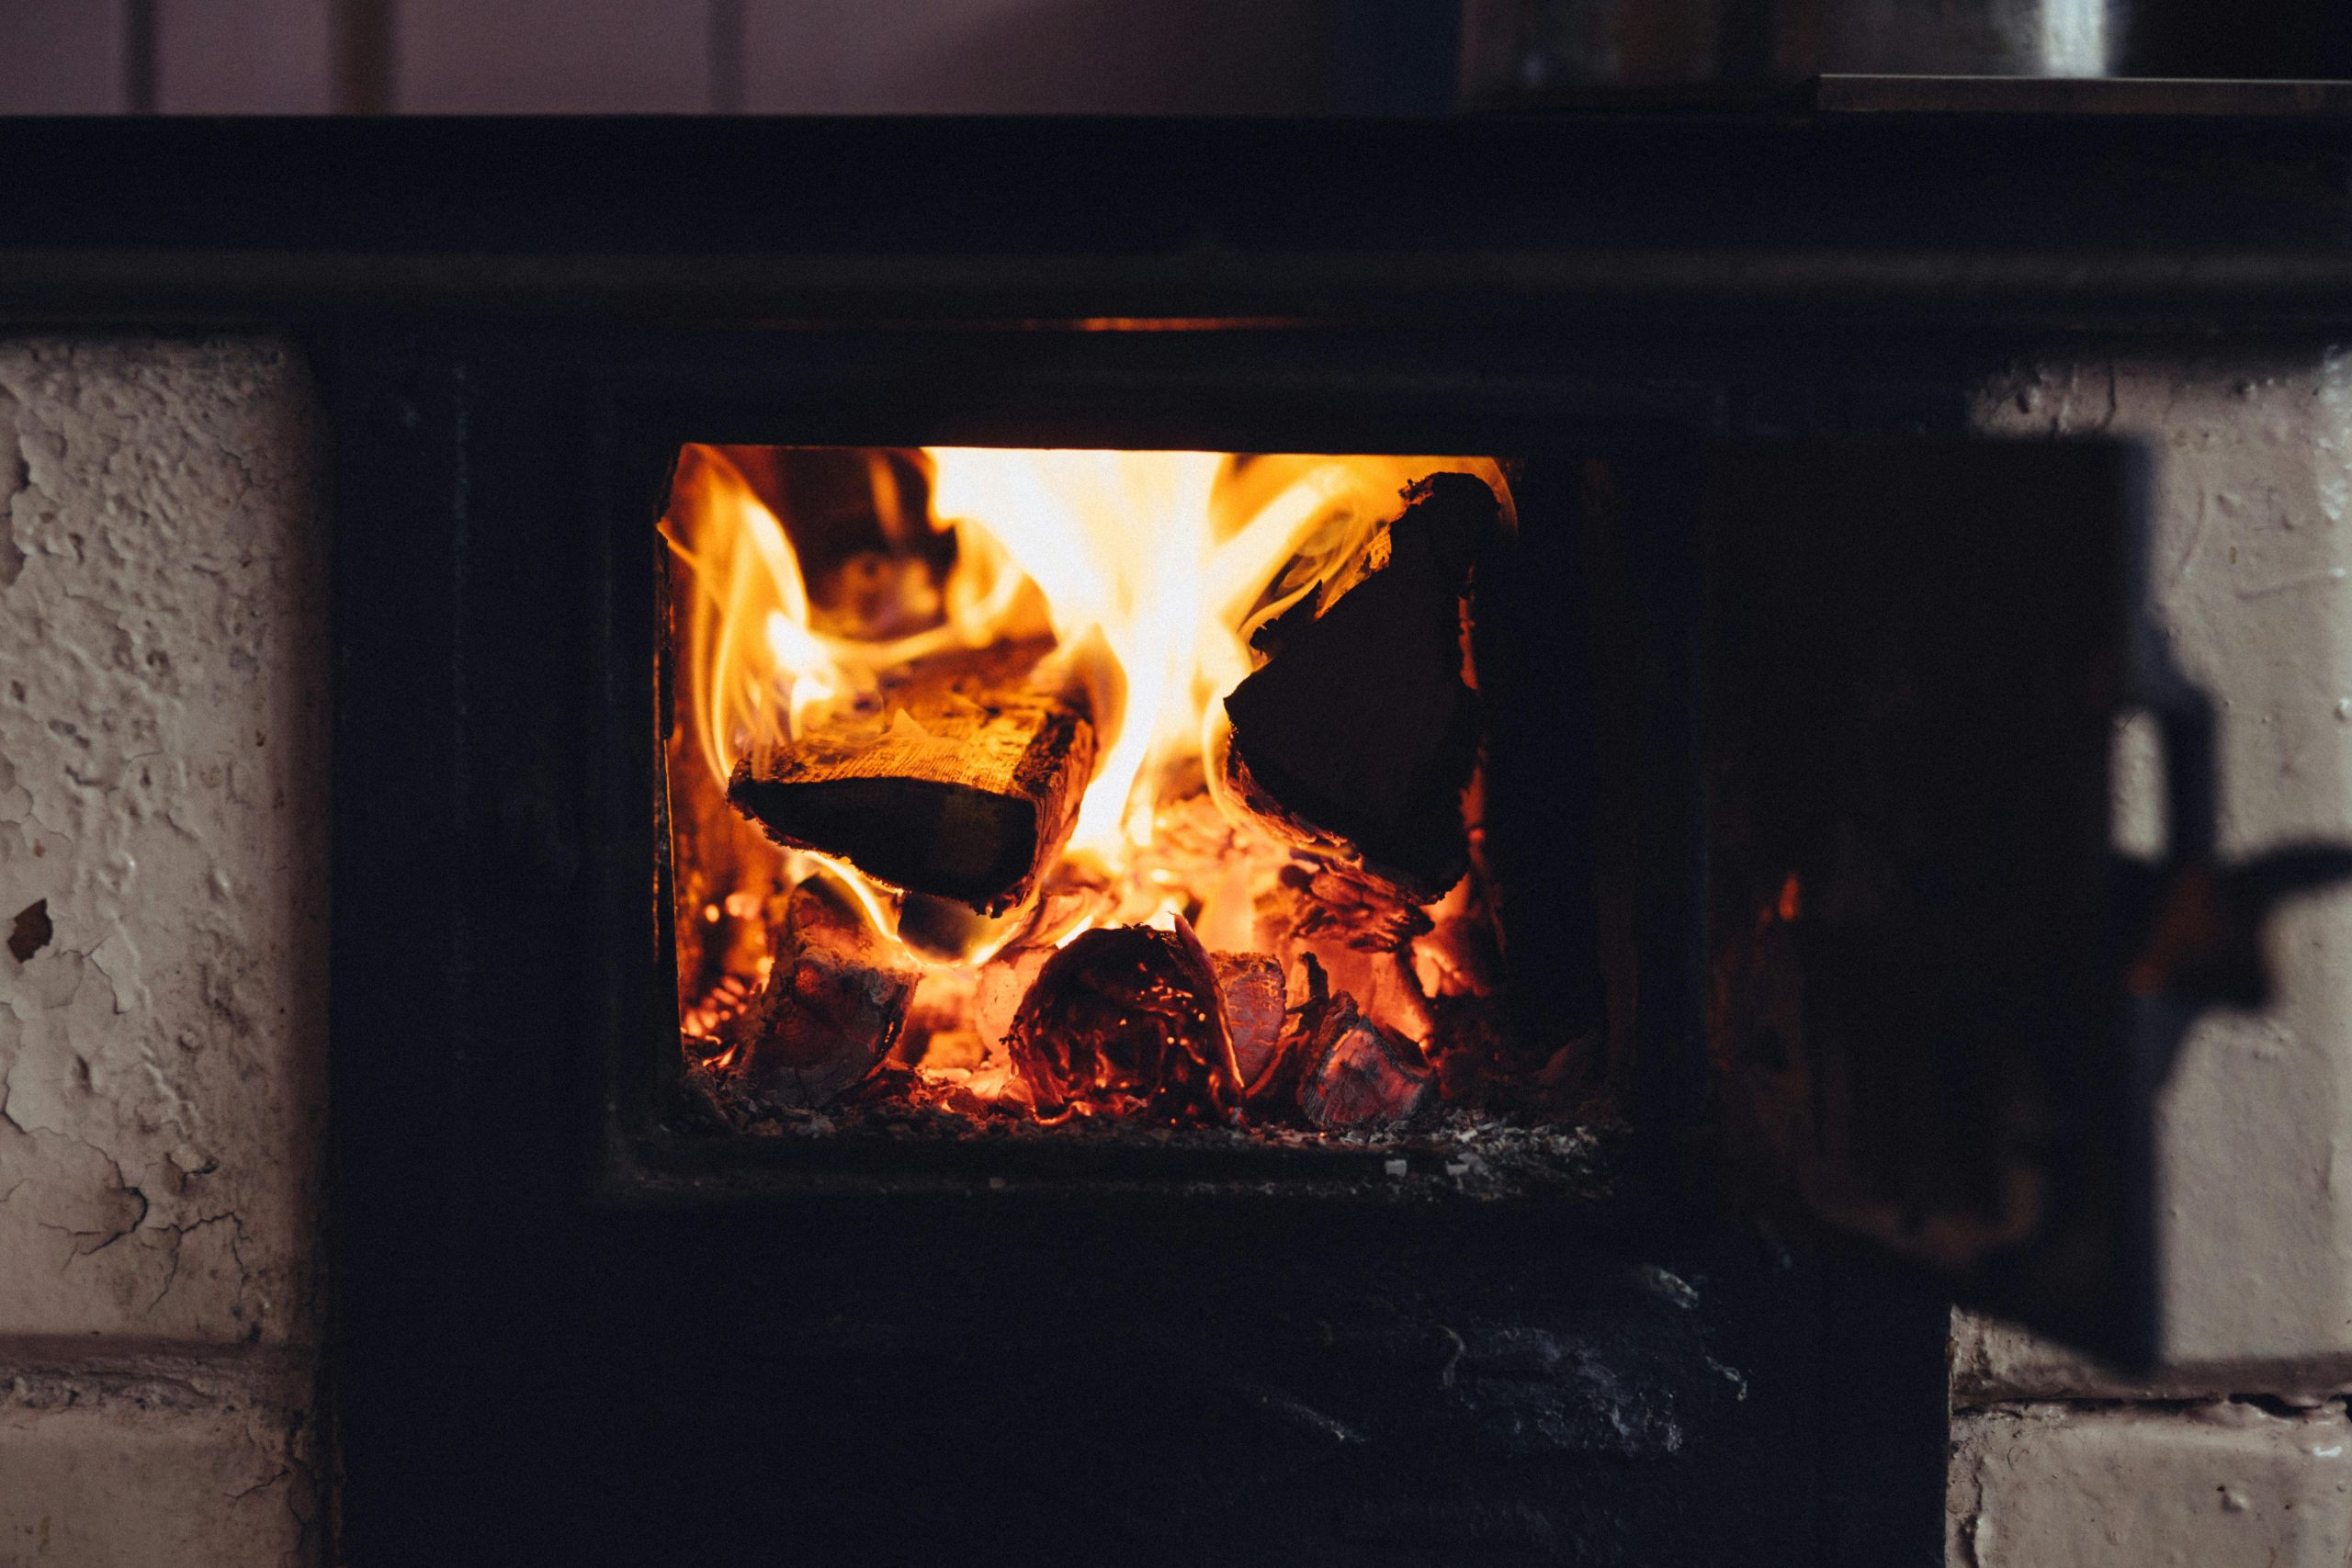
Heating systems work best when clean and unobstructed. Dust, ash, and debris reduce efficiency and can become safety hazards. Before winter sets in, clean stove interiors, clear chimney paths, and replace or wash filters on heaters. This improves airflow and heat output while reducing fire risk. Regular cleaning also extends equipment lifespan. A visual example shows a wood stove being brushed clean, with tools nearby and ash removed, reinforcing preventative care rather than reactive maintenance.
12. Add Rugs or Floor Coverings
Cold floors make cabins feel colder than they actually are. Bare wood or concrete allows heat to escape downward, reducing comfort. Adding rugs, runners, or layered blankets provides insulation while making living spaces cozier. Thrifted rugs work just as well as expensive ones. Focus on high-traffic areas and places where you stand often. A picture-friendly image shows layered rugs spread across a wooden cabin floor, paired with warm lighting and winter boots nearby.
13. Control Moisture with Simple Absorbers
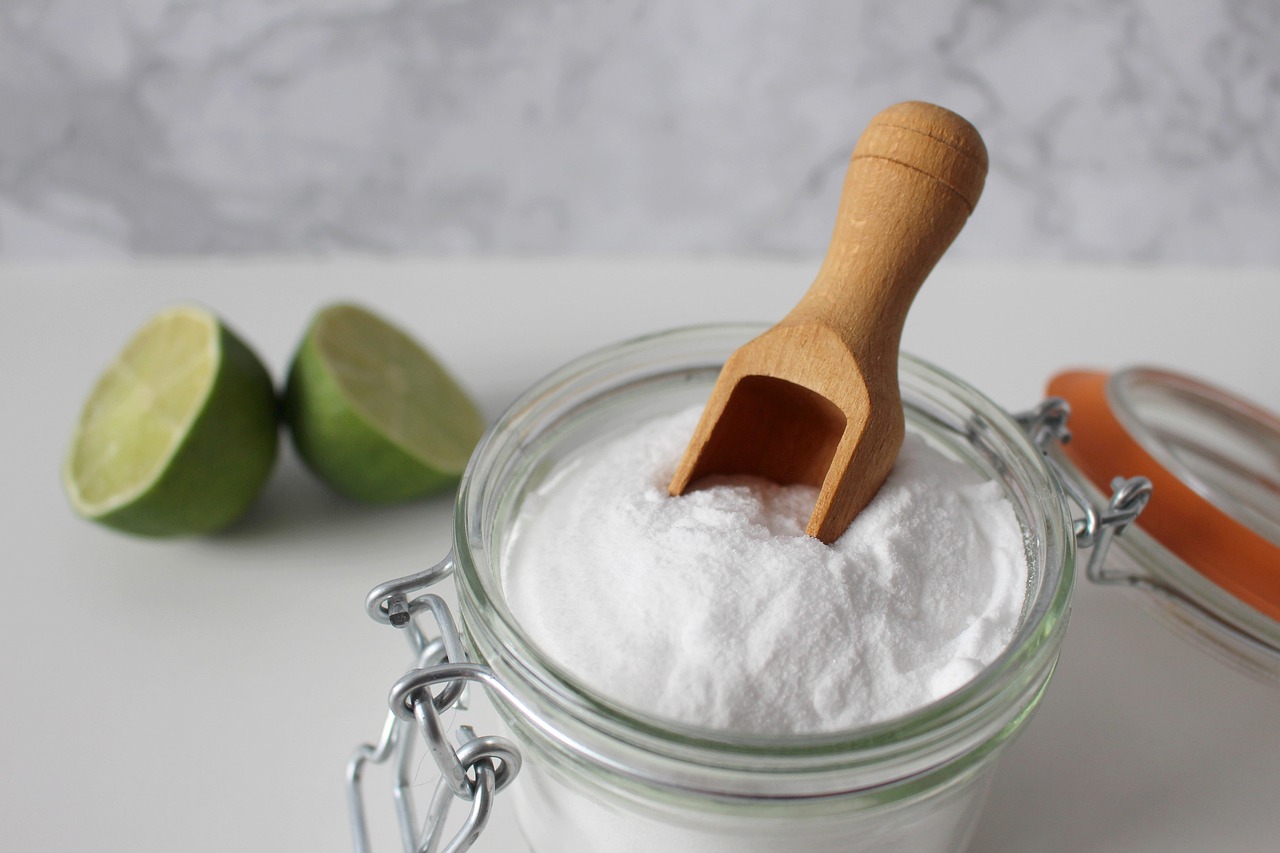
Winter moisture causes mold, mildew, and long-term structural damage. Condensation often forms when warm indoor air meets cold surfaces. Moisture absorbers, baking soda, or charcoal placed in problem areas help reduce dampness. Focus on closets, bathrooms, and corners near exterior walls. This low-cost step protects materials and improves air quality. A visual shows small moisture absorber containers placed on cabin shelves and window sills, reinforcing quiet prevention rather than visible damage.
14. Perform Regular Winter Checks
Winterizing is not a one-time task. Conditions change, materials shift, and problems develop slowly. Check seals, pipes, moisture levels, and indoor temperatures regularly throughout winter. Early detection prevents minor issues from becoming costly repairs. A quick weekly walkthrough keeps everything functioning properly. A final picture-friendly scene shows someone inspecting a cozy cabin interior during snowfall, clipboard in hand, emphasizing awareness and ongoing care.
The post 14 Budget-Friendly Ways to Winterize a Cabin Without Professionals appeared first on Bushcraft Base Camp.